

Add a test connector
Your lite account manager will configure the test connector and sandbox credentials from the backoffice.Enable test mode
- Go to Settings > Developers and enable Test Mode.
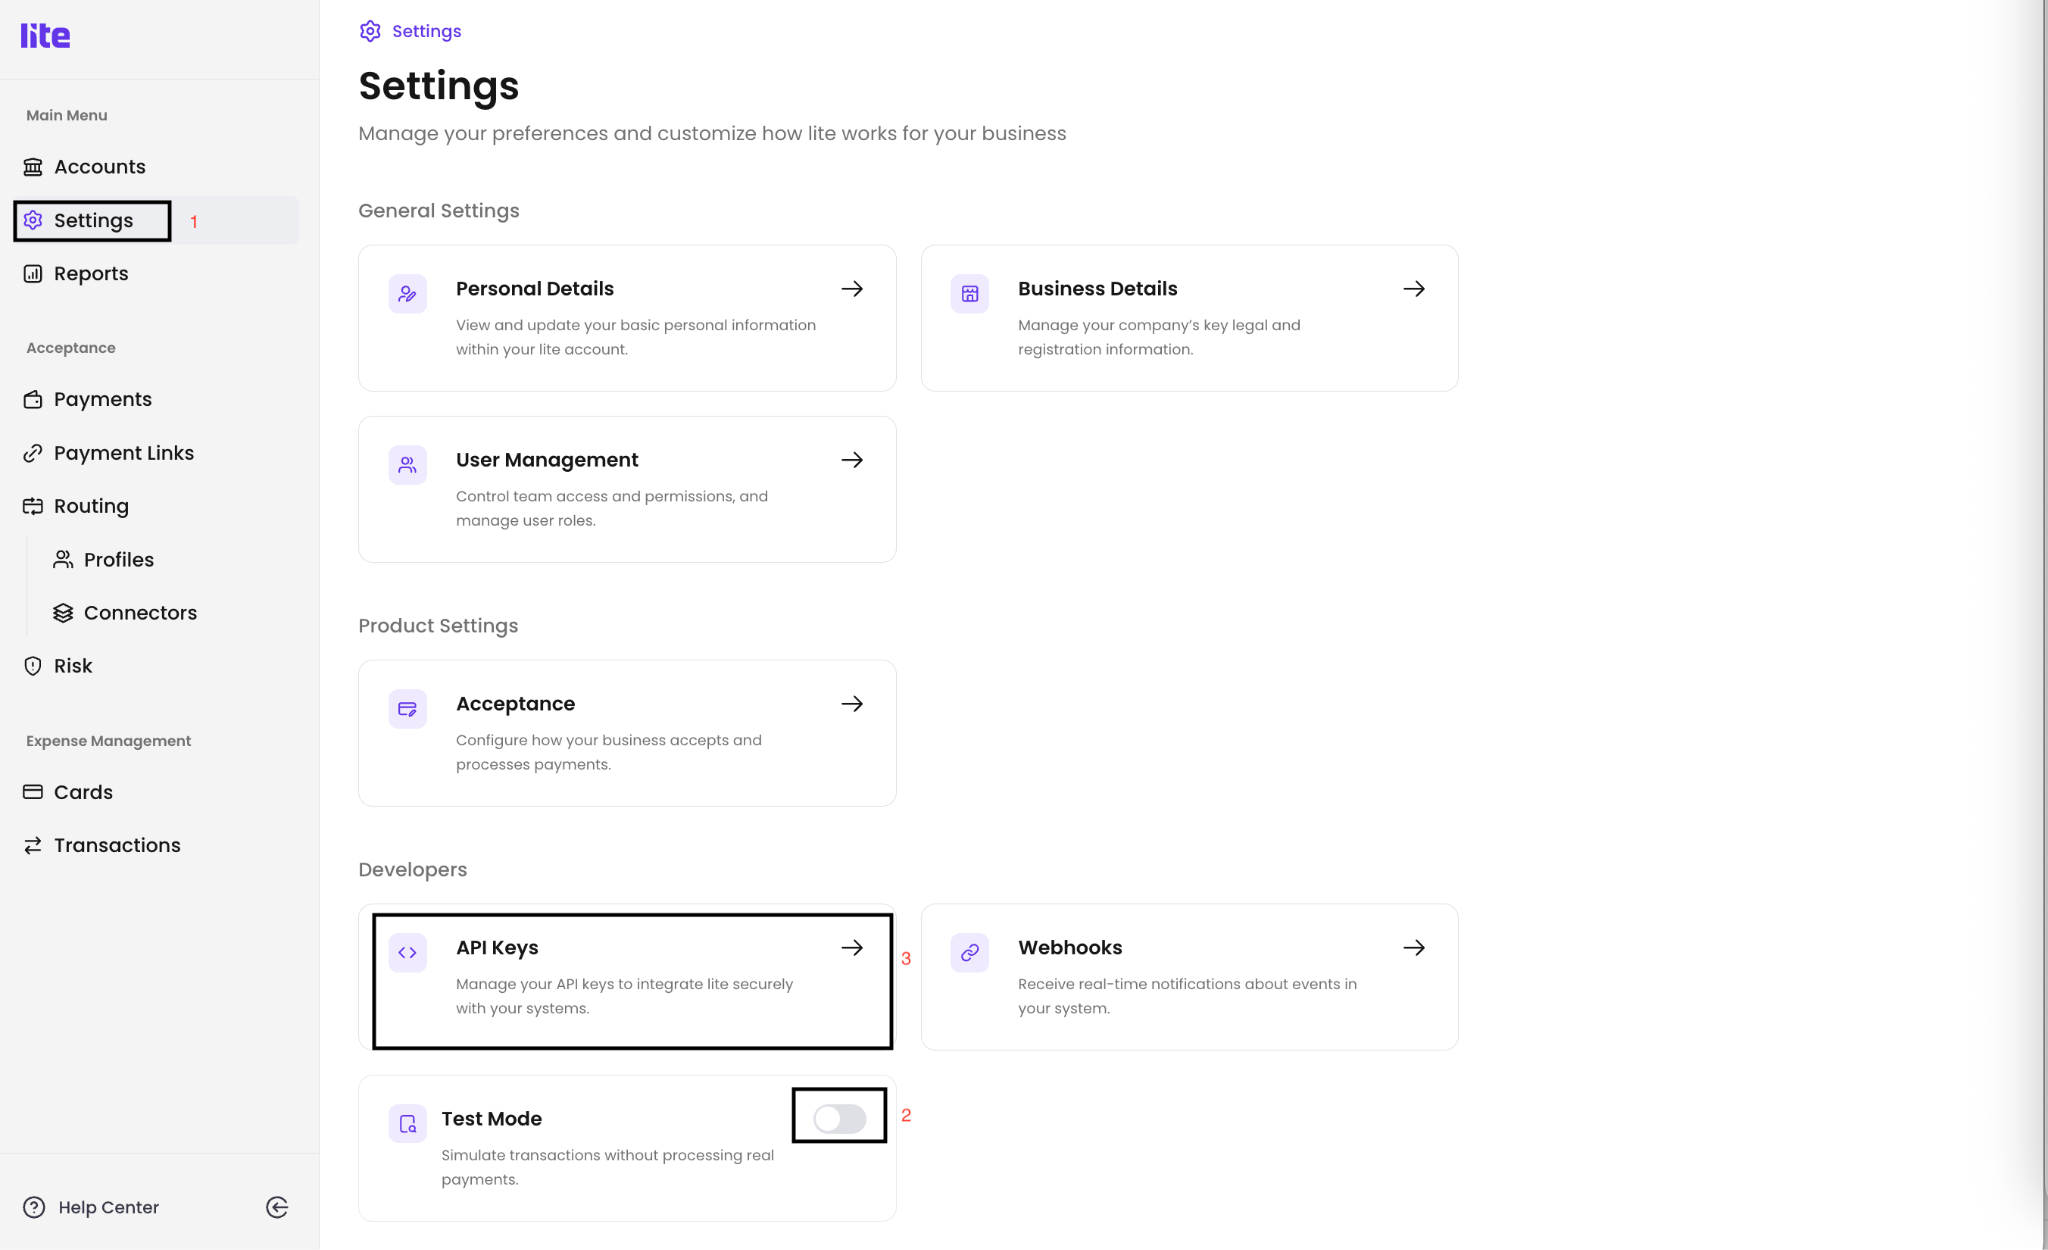
- Go to API Keys and select Create API Key.

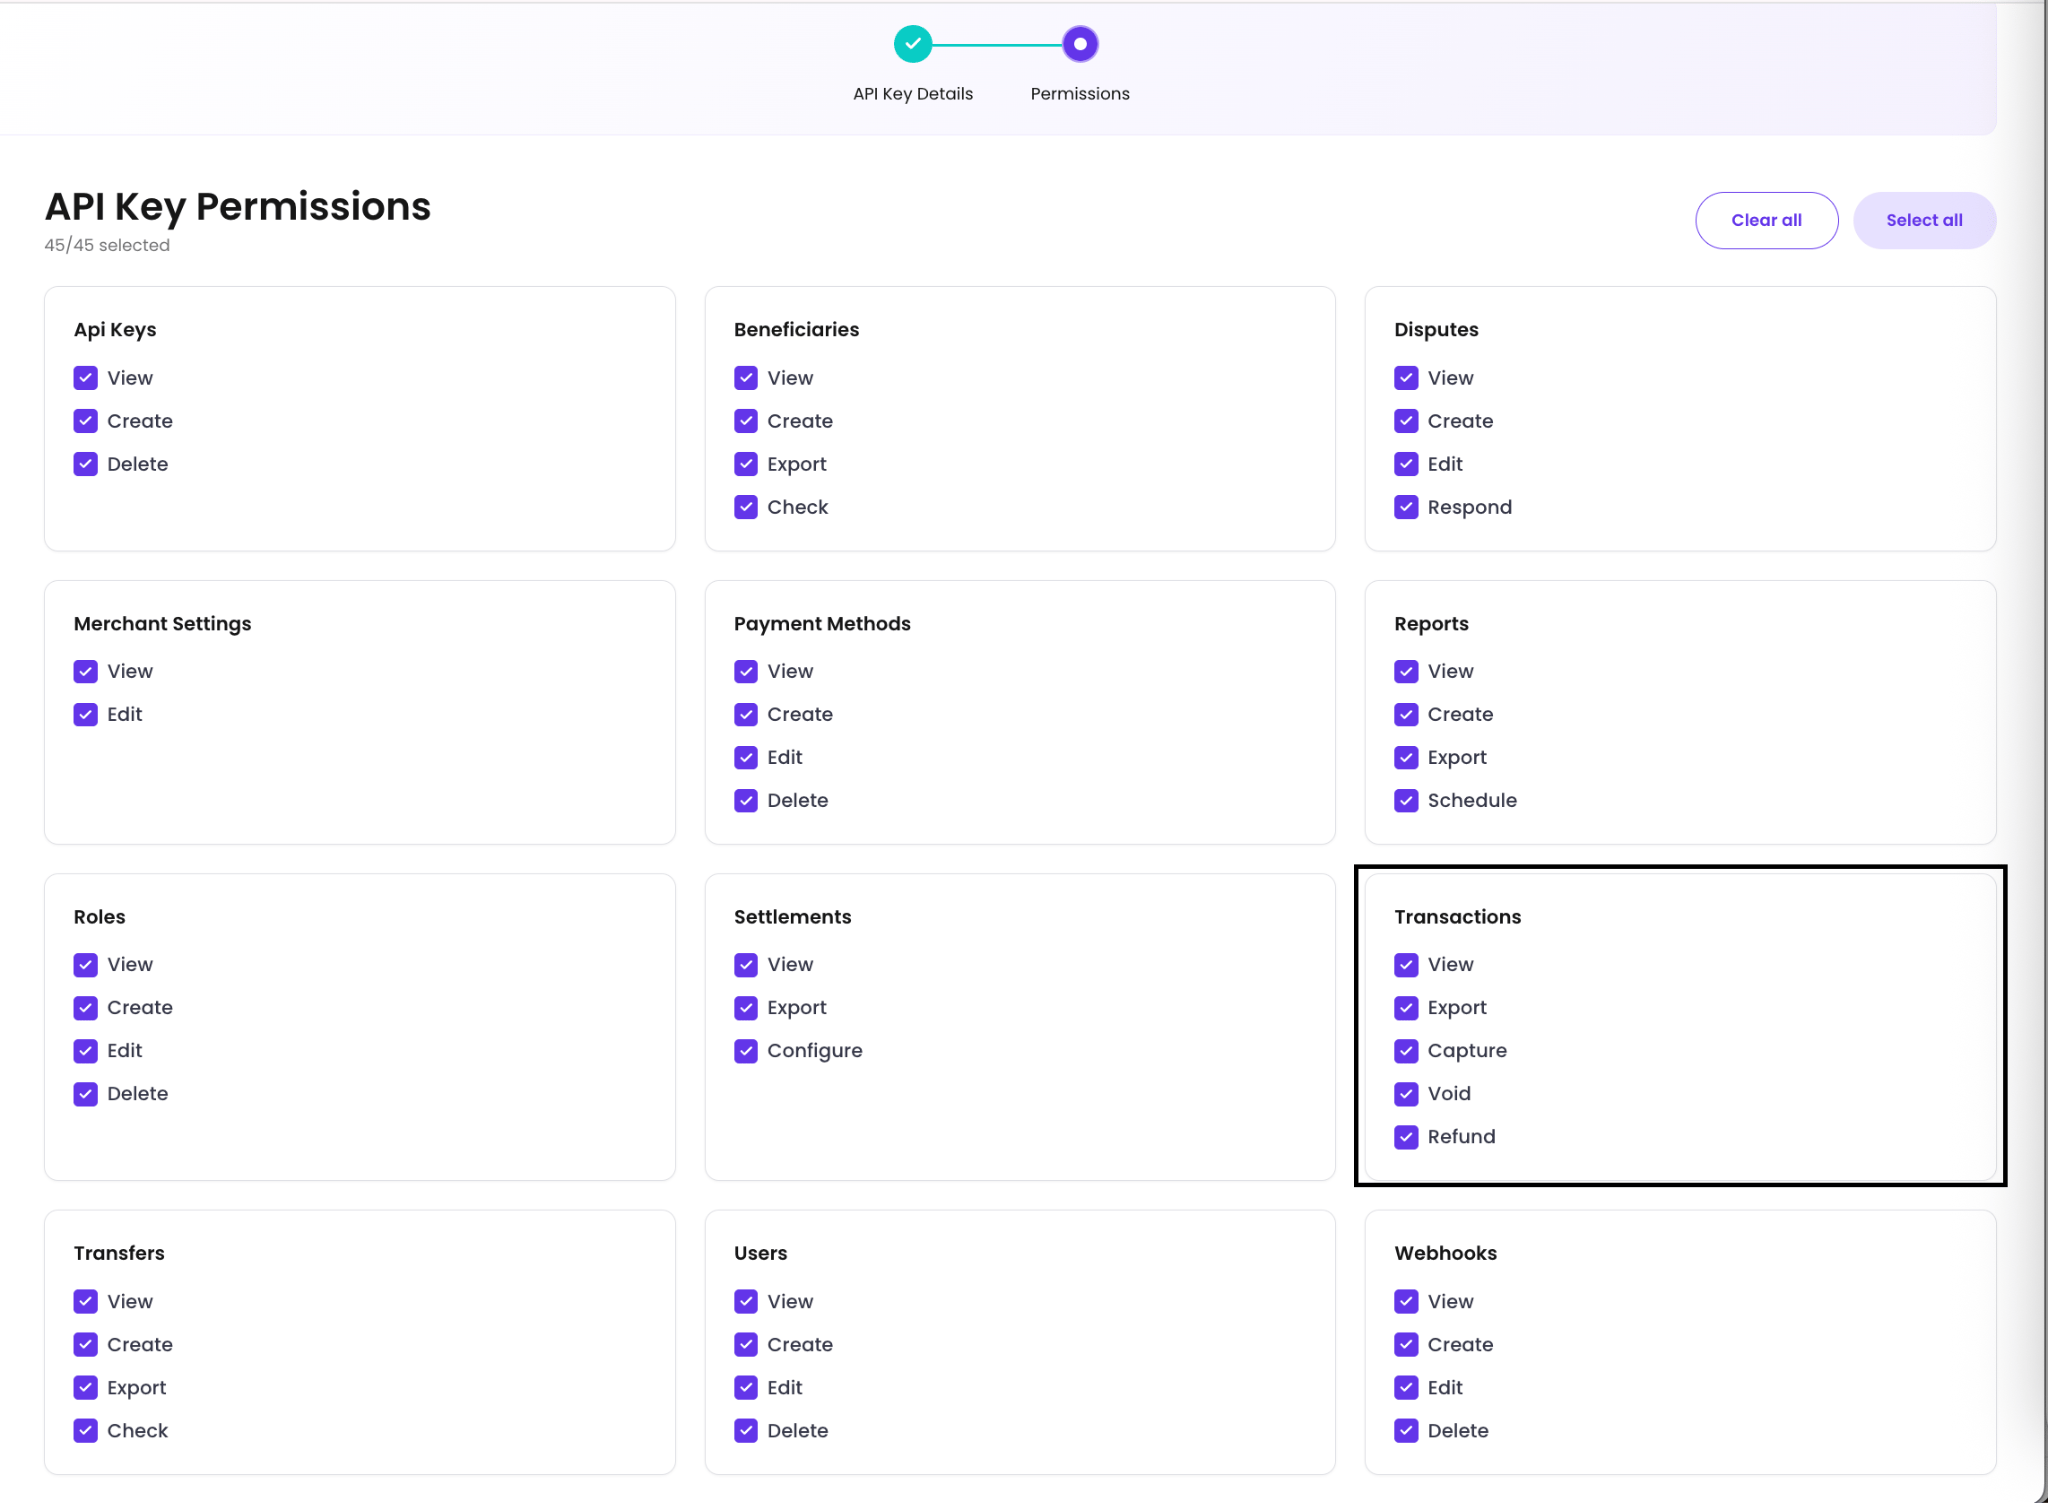
- Select the required permissions. Make sure the payment permissions are enabled.
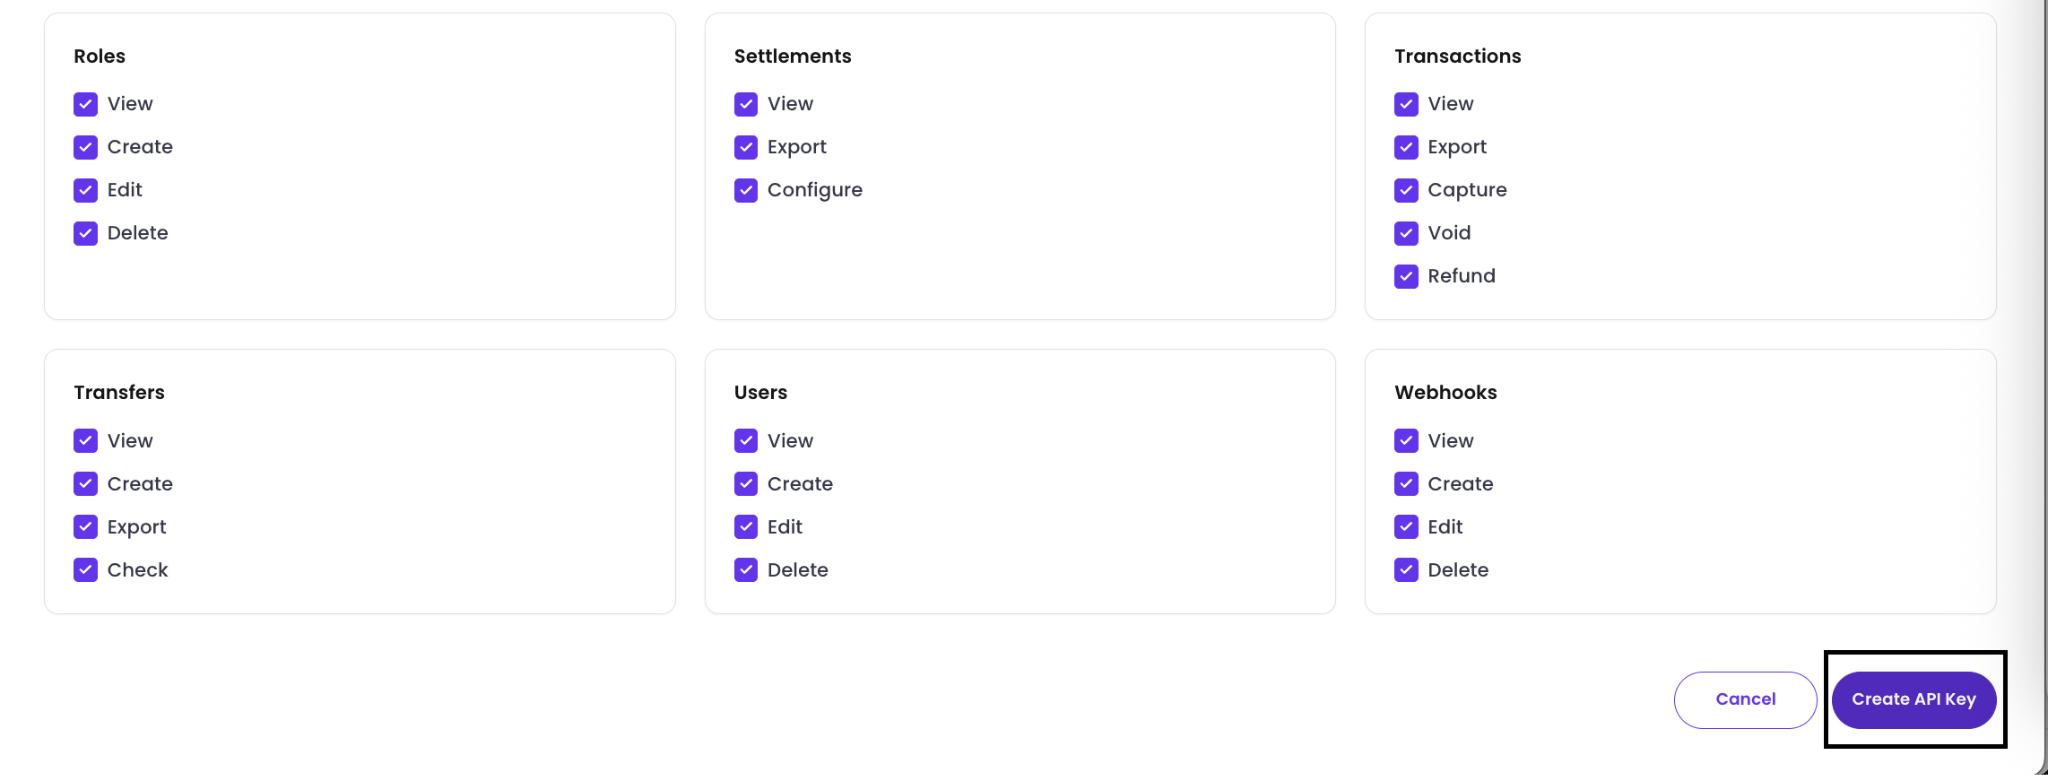
- Select Create API Key, then use the generated key to process test payments.
Link the test connector to a routing profile
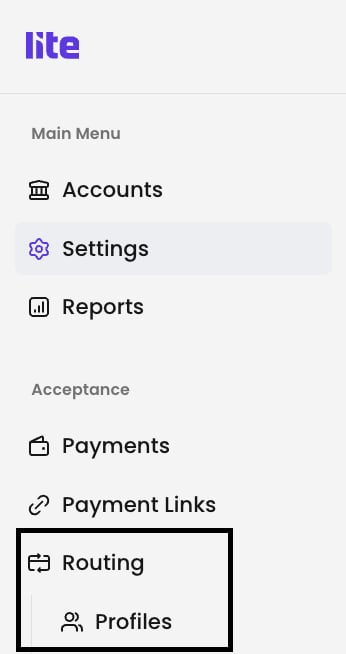
- From the navigation menu, go to Routing > Profiles.
- Select Create New Profile.

- Add a simple routing rule for testing and select the test connector configured for your account.
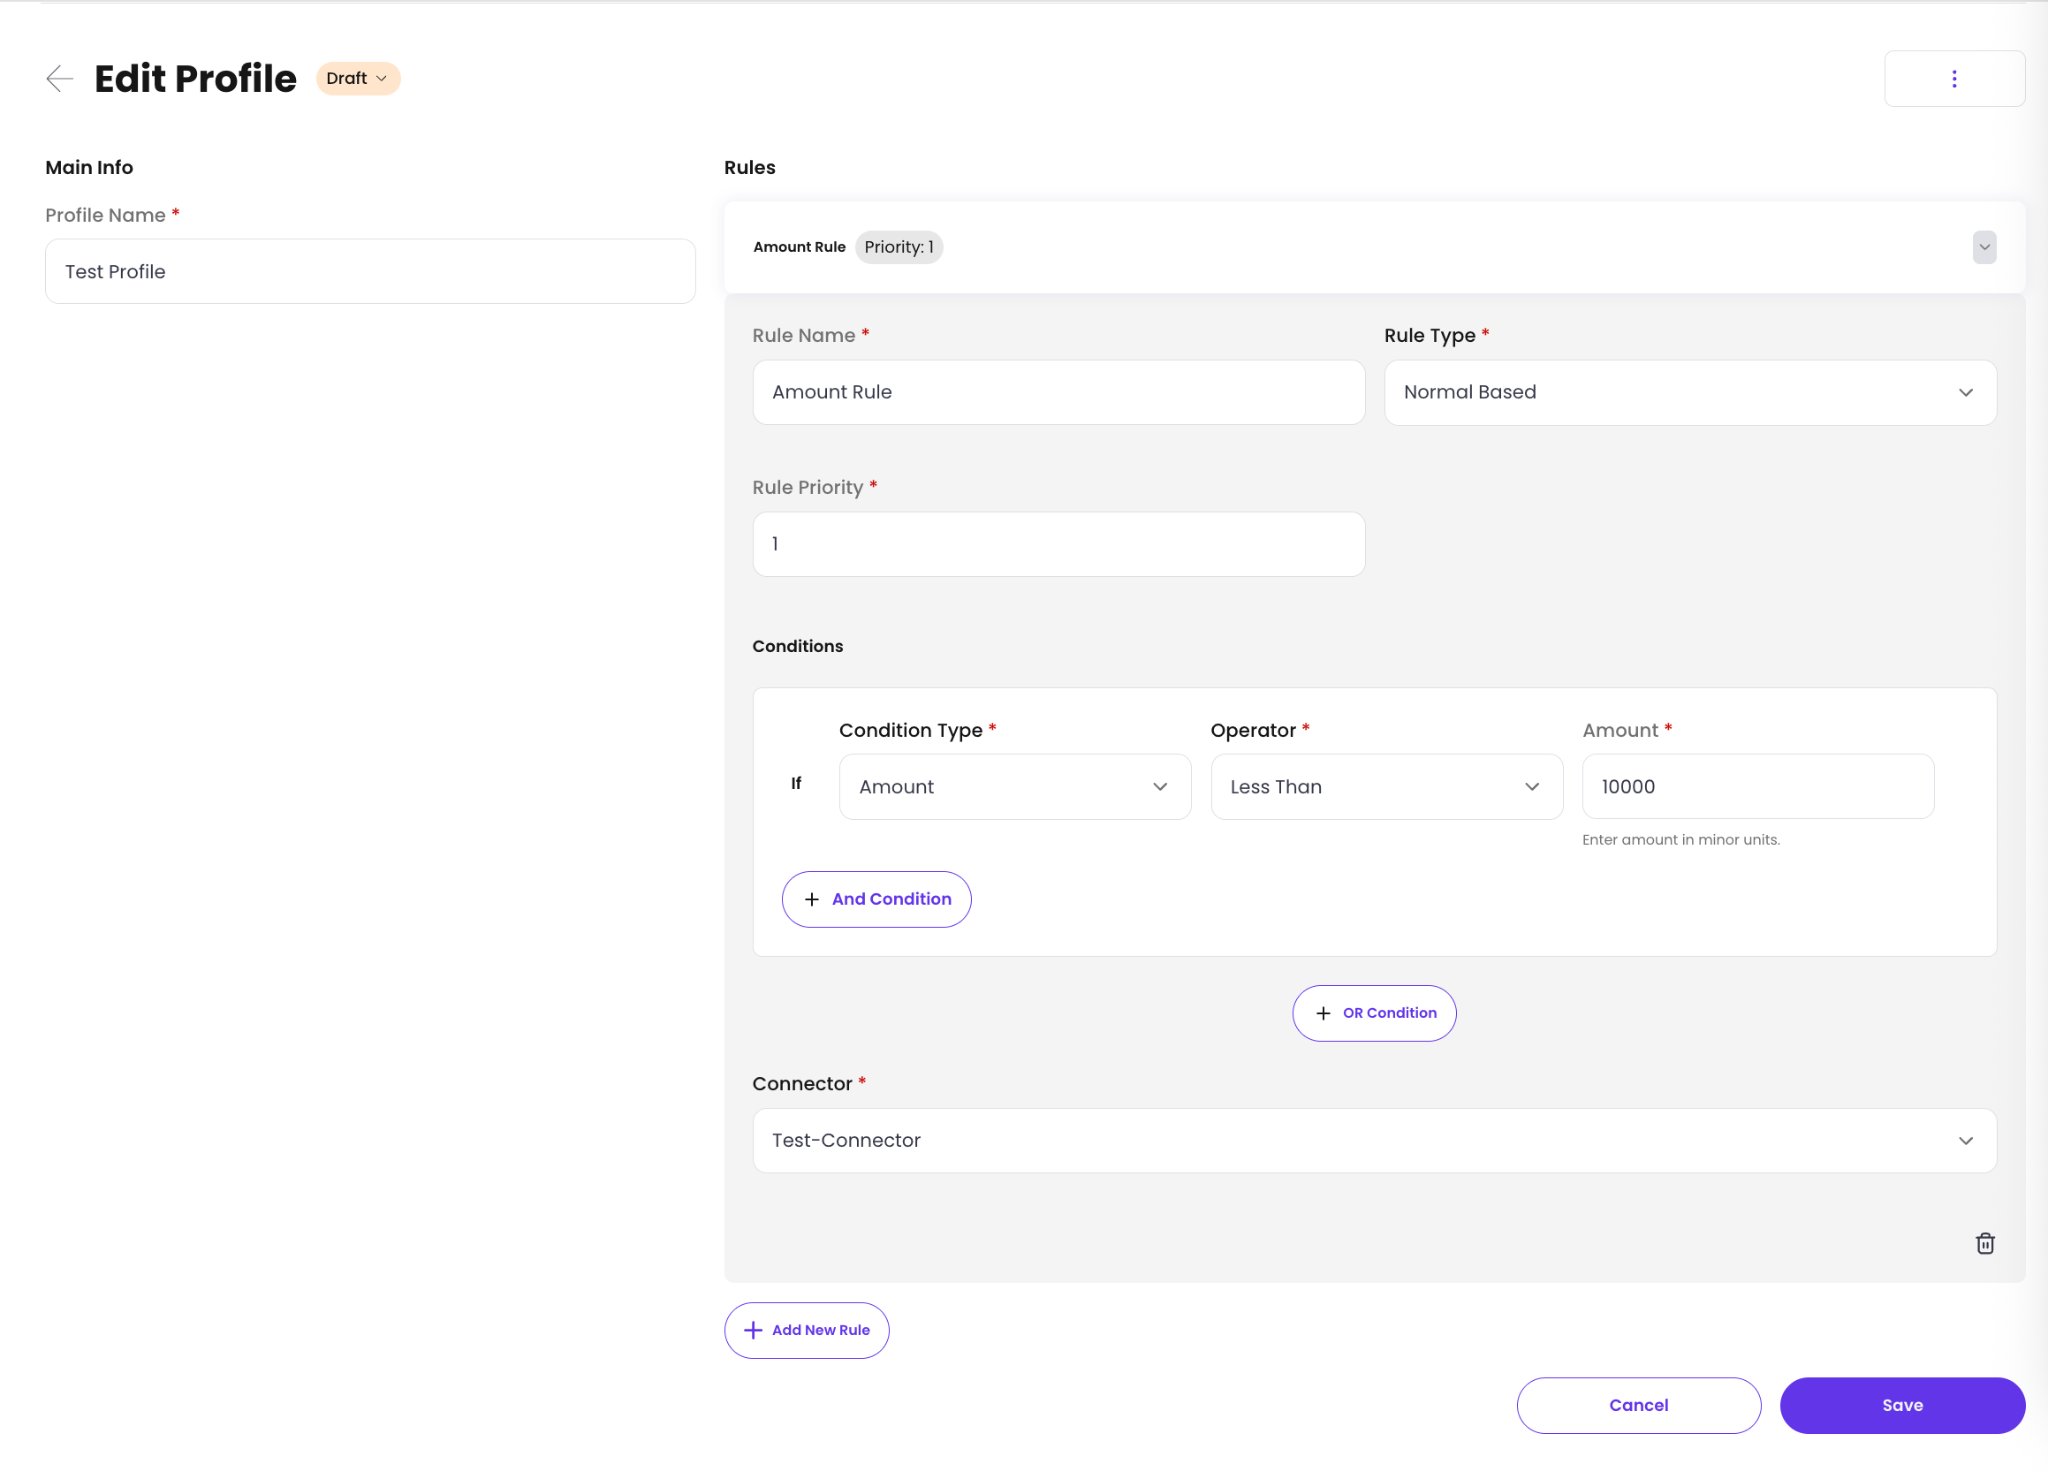
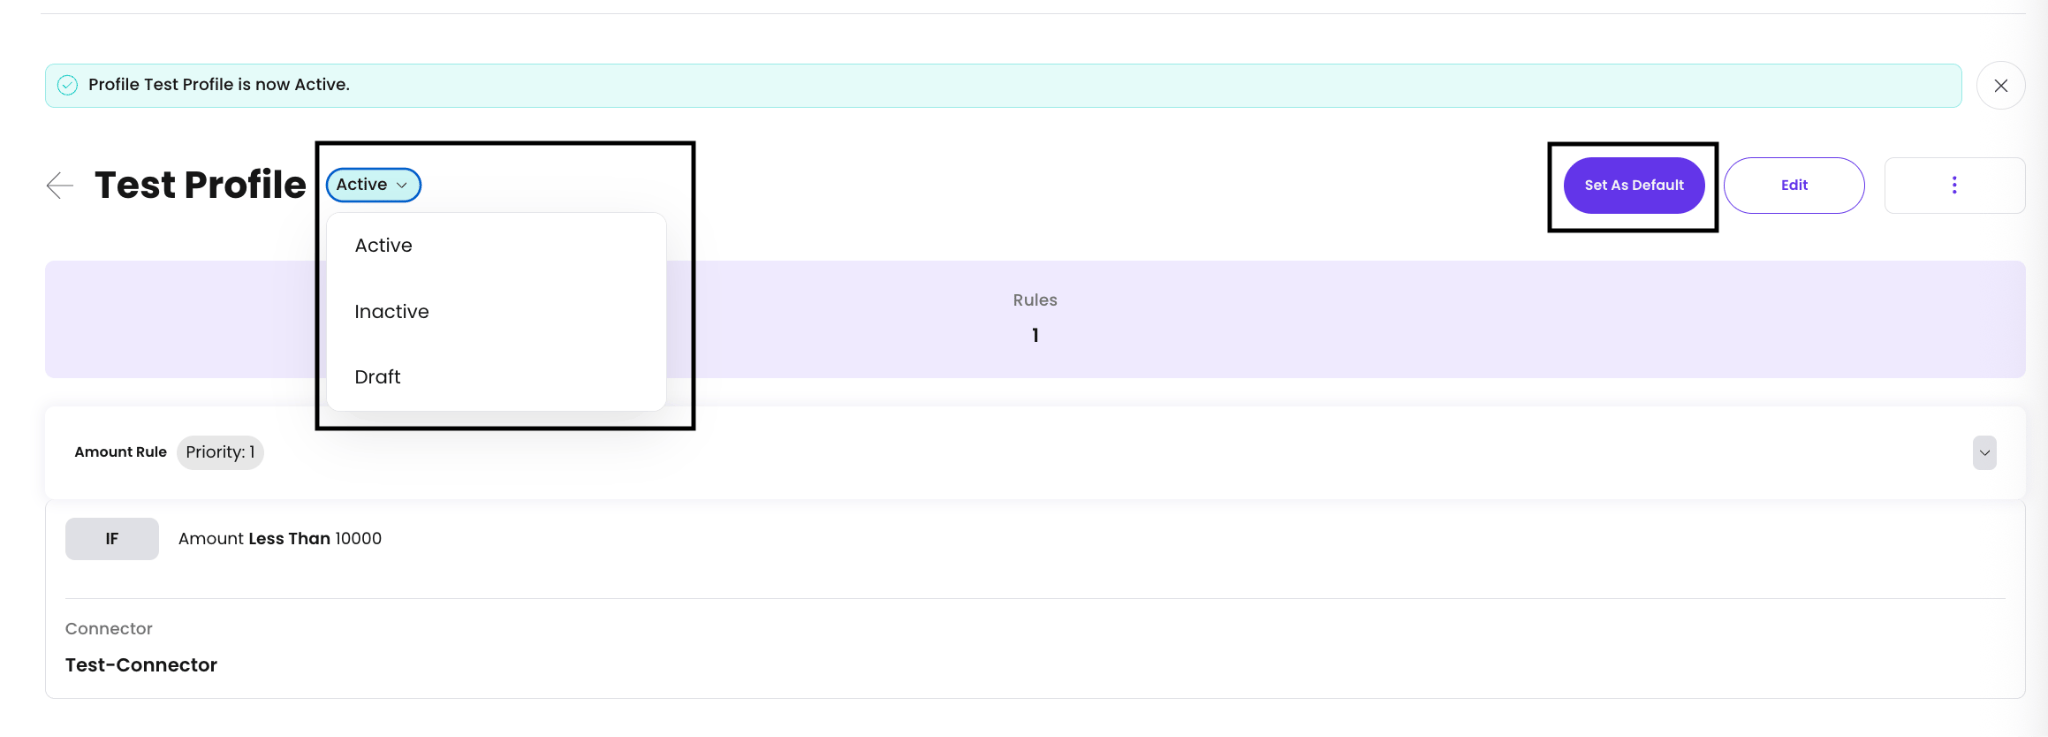
- Save the profile, change its status to Active, and set it as the default profile.
Configure an e-commerce payment processing channel
-
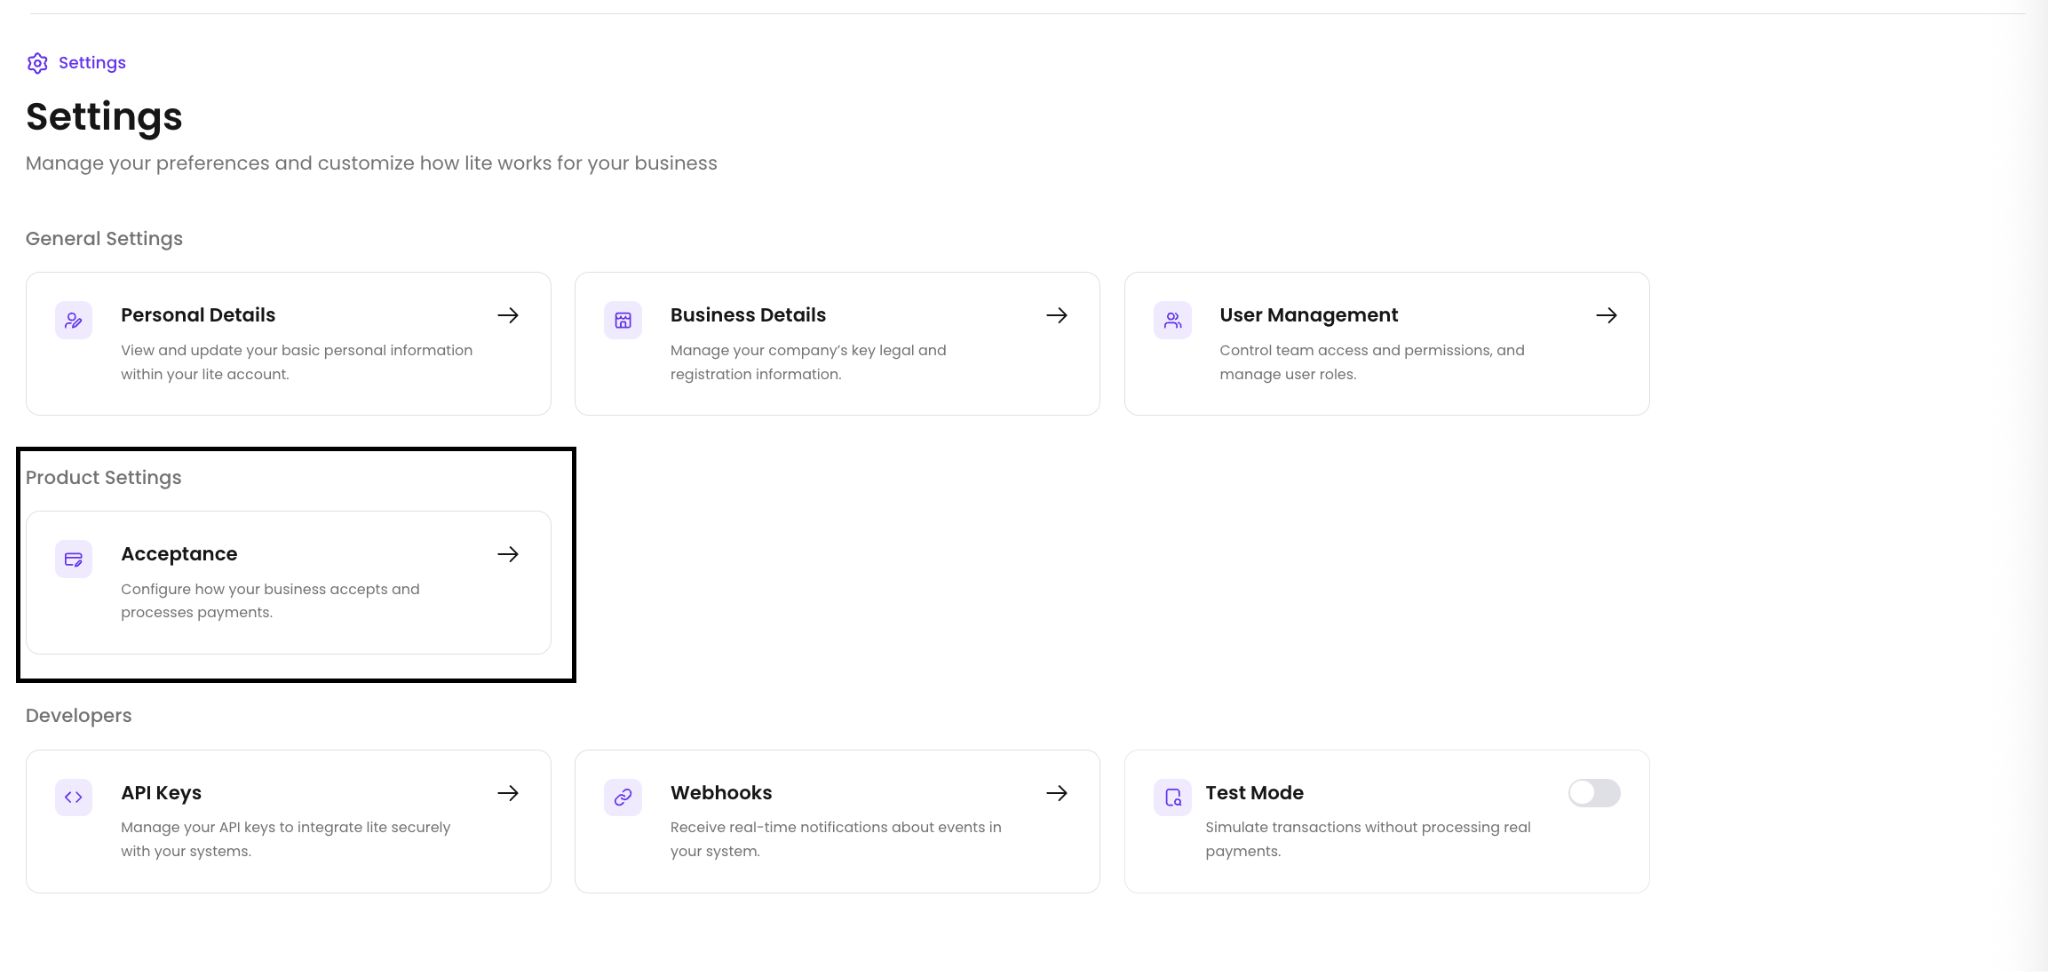
Go to Settings > Acceptance.
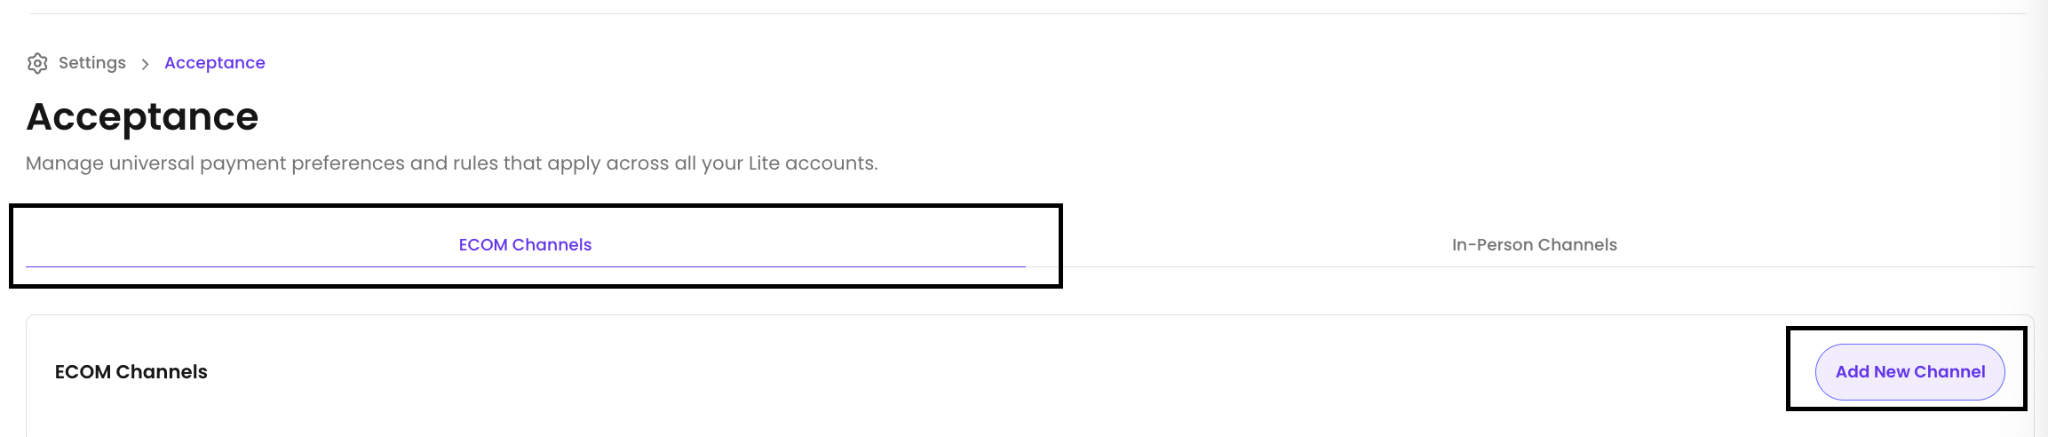
-
Enter a channel name. Select a subtype if you want to separate this channel from your other e-commerce channels.
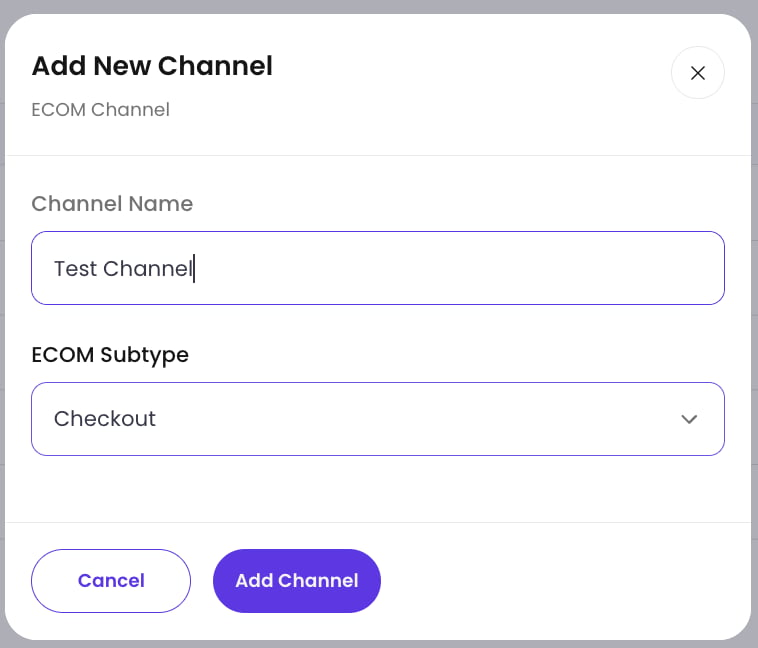
-
Configure the channel’s payment methods and checkout styling.
Select the payment methods you want to test.
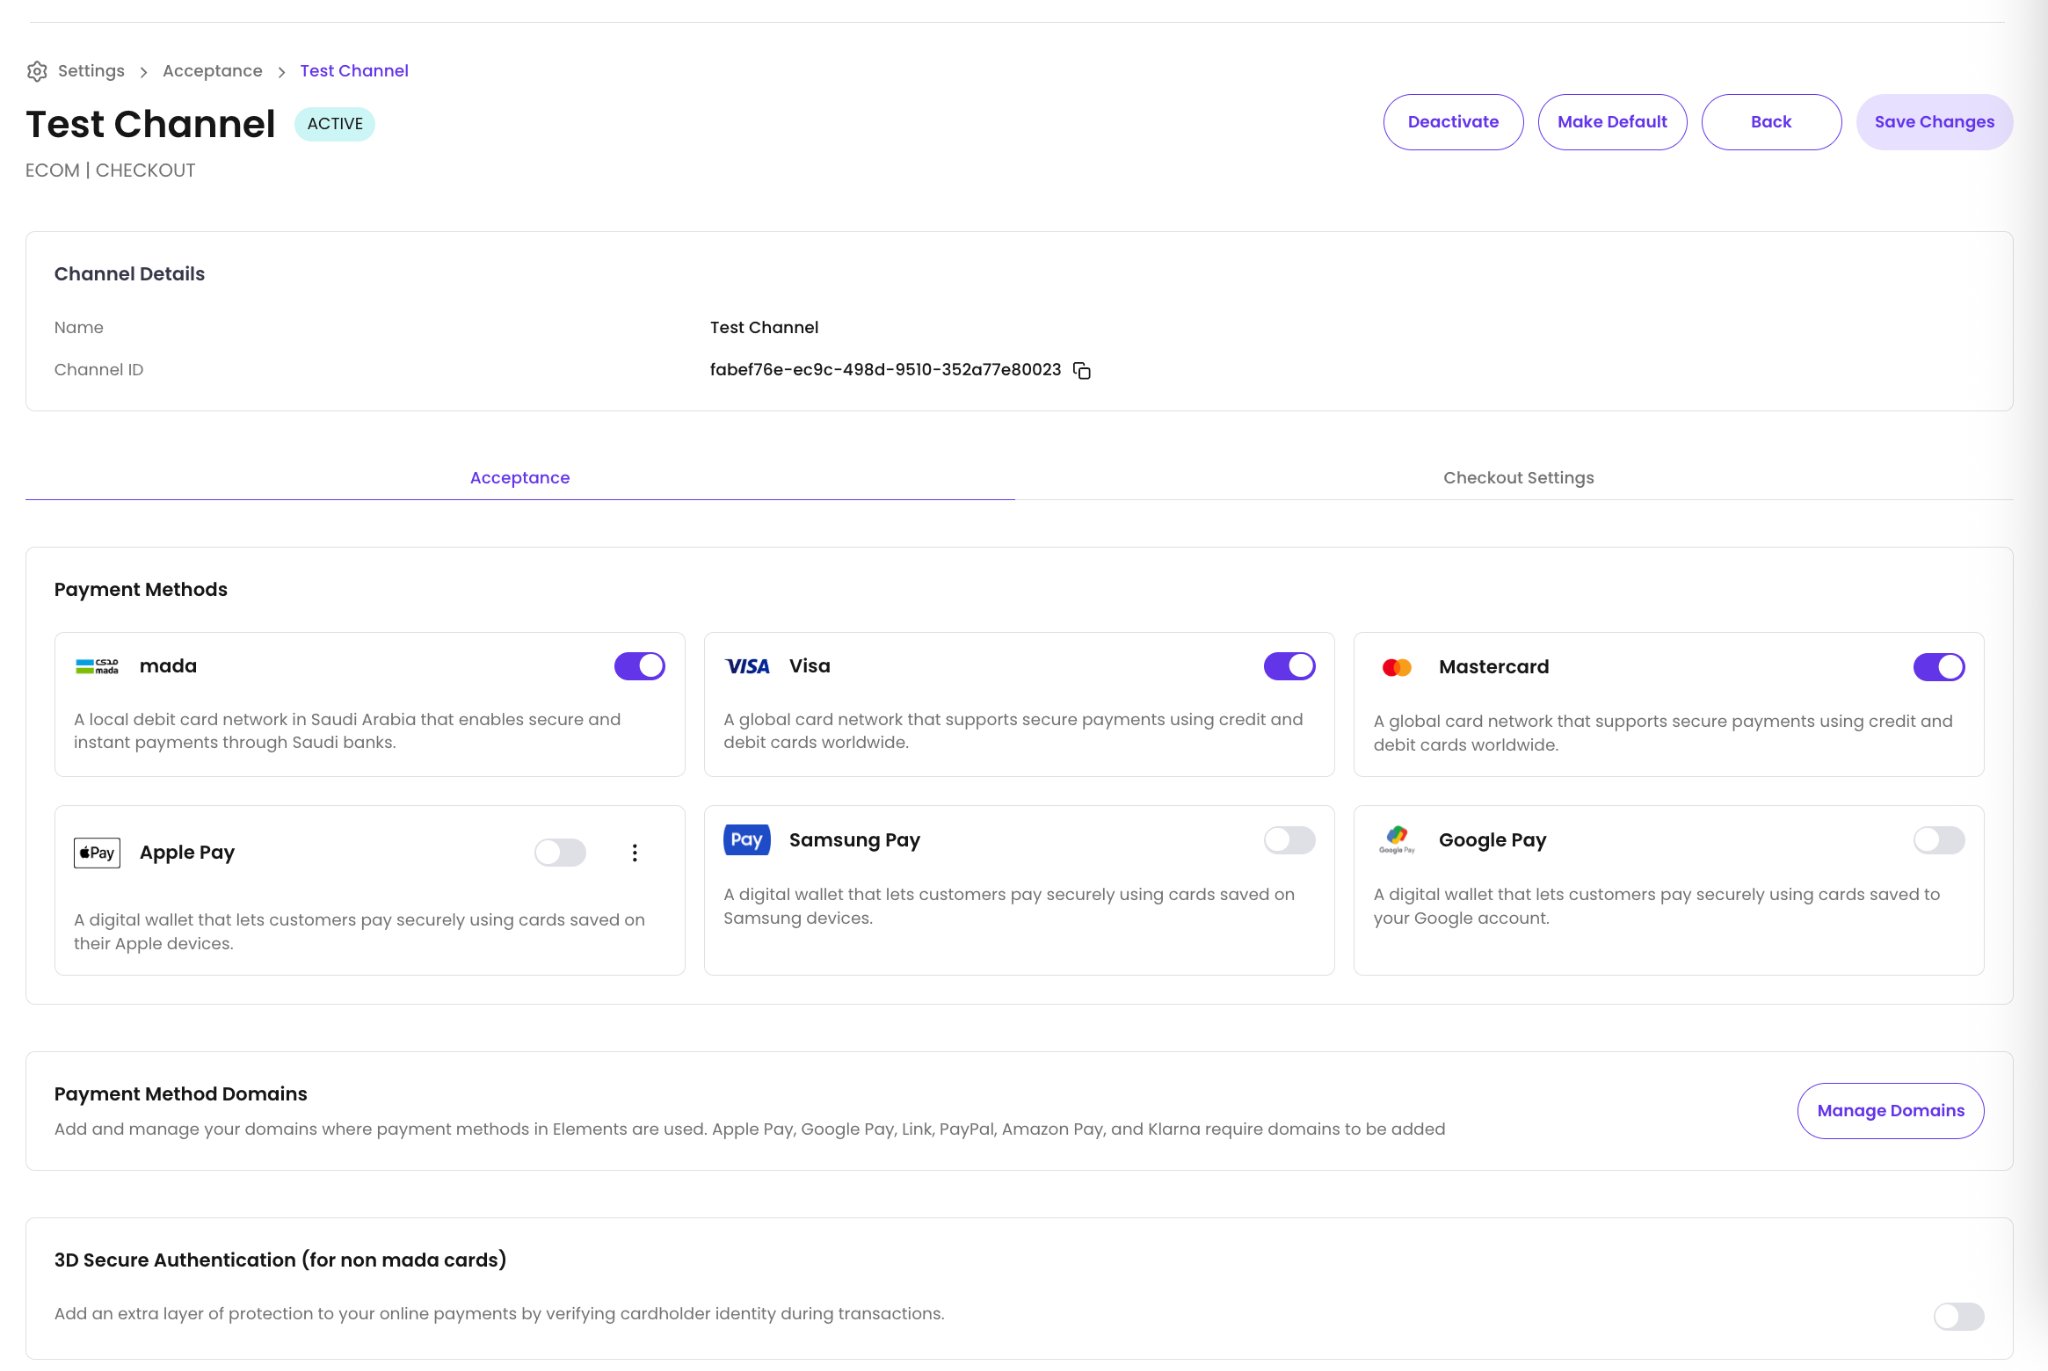
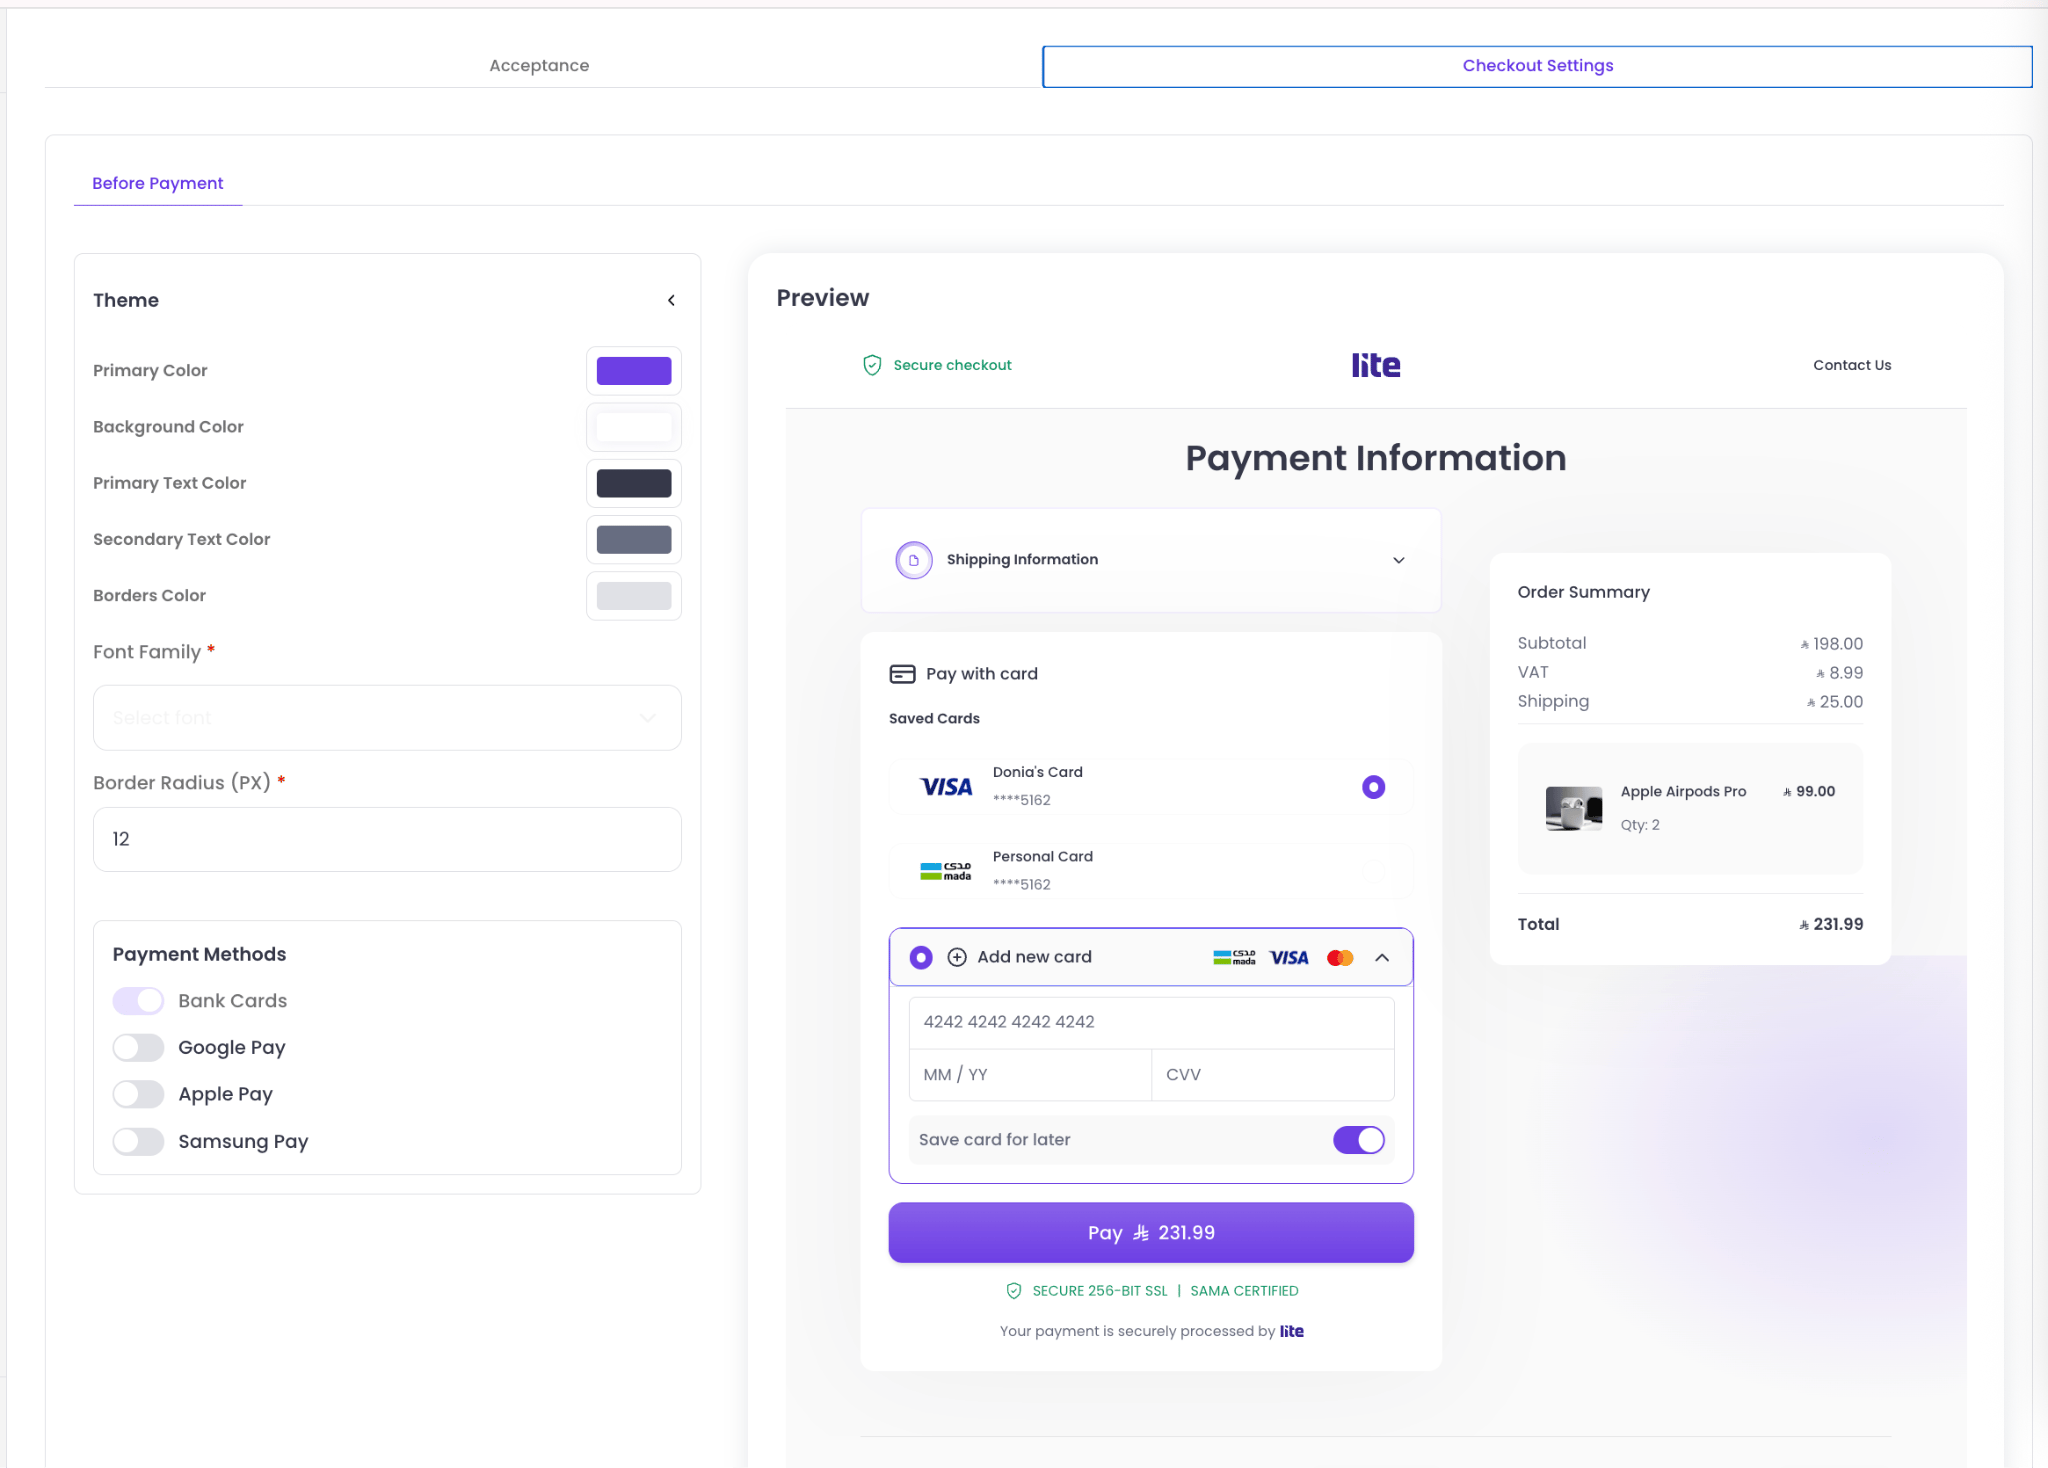
If you use the Web SDK, only the payment-method configuration is required.
-
Copy the channel ID and include it in the Create Session payload as
channel_id.